Obviously I'm currently in a bag phase, unfortunately I don't use too many bags, I tend to find one I like and stick with it for a while then rotate another in.
 |
| Front view with flap down |
 |
| Front view, zippered top, changing flap zipped up. |
Since I wanted to keep making bags I thought it would be fun to make something directly for someone else. I've made things in the past and just given them away but this time I made a bag specifically for a particular person/reason. A friend of my sister is pregnant with her second child but got rid of most of her baby stuffs a little while ago. She got a lot of stuff from my sister including a diaper bag but I thought it would be fun to make a diaper bag that could be converted to a backpack.
 |
| Lots of interior pockets. Laminate fabric used. |
My sister helped me pick out a fabric that we thought she would like. I found matching cotton laminate for the interior of the bag since having a water-resistant interior is probably helpful. The main fabric is Michael Miller Zoology Sea, contrast fabric Baby Play Stripe Sea, and lining Michael Miller (PUL) Dumb Dot Aqua. I do love the fabric, I think it is awfully cute without being over-the-top cute.
 |
| Remembered to add my label to the bag! |
I used
Classic for Mom by wpcreek. It was one of the few backpack diaper bag patterns I could find. I also loved all the pockets it had (inside, side, and front pockets), and a changing flap. This came as a pdf pattern, which I really prefer because you get it almost immediately, and it's a lot easier to save it on the computer instead of hoping the pattern and directions don't wear down over time. The directions were well-written and since the pdf also had photo directions, it made making the bag very straightforward.
 |
| Side pockets: one small to hold cell phone/keys, larger pocket to hold bottles. |
I did make some minor modifications:
For the changing flap, the design has you using one fabric for the outside and inside. Since it was a changing flap, I thought it more appropriate to make the changing side out of the polyurethane laminate (the polka dots fabric) and the outer side would be the main fabric. I also topstitched the flap to give it a nice decorative look.
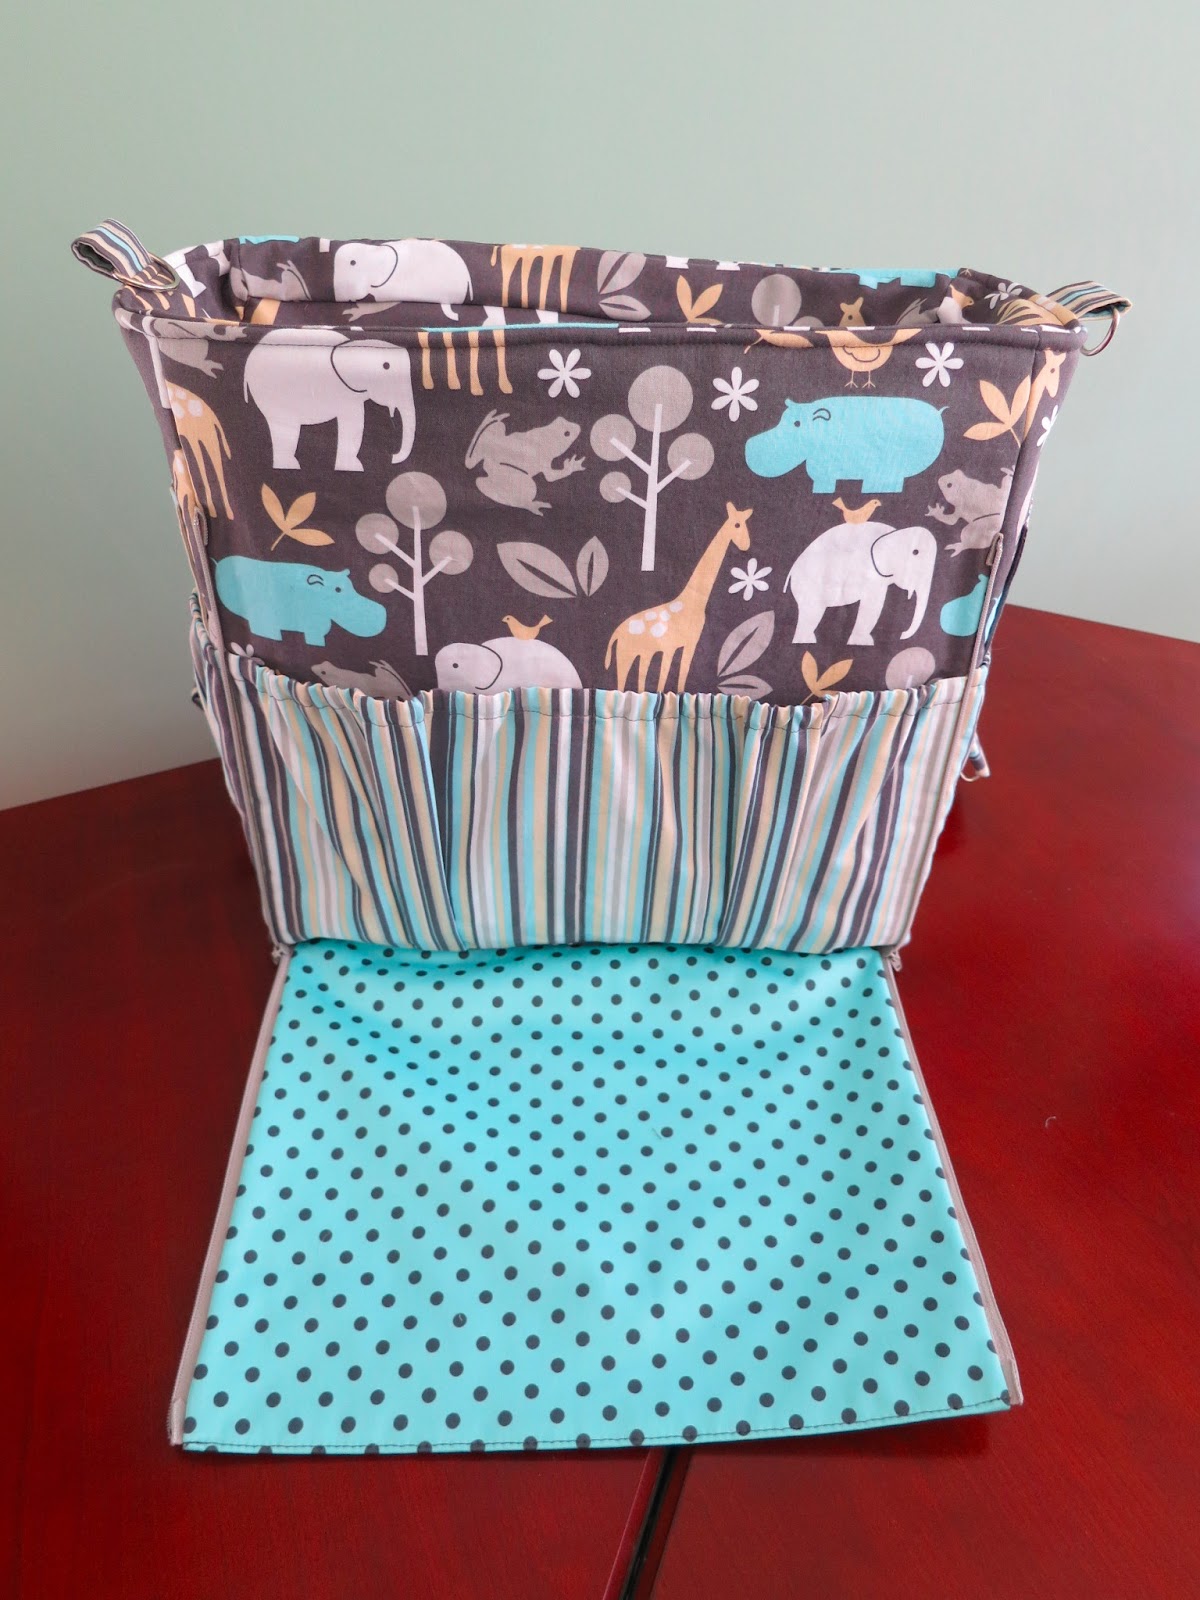
 |
| Front with changing flap open. Even more pockets! |
For the straps, I increased the width from 1.25" to 1.5". The main reason is because I have a stash of 1.5" swivel hooks but I also like the look of the increased width. To match the straps, I increased the connecting D-rings from 1" to 1.25". I also increased the length of the D-ring tabs from 2" to 3". I wanted to have a little more fabric to play around with when sewing it to the bag.
 |
| Straps set in the backpack rings. Can also convert to shoulder bag or cross-body bag. |
Lastly I reinforced the bottom of the bag by adding a double layer of double-sided decor bond fusible interfacing. it adds a bit of stability to the bottom.
I am very happy with how it turned out and the best part? The recipient loves it too!


Comments